


☀️ Power your peace of mind with sun-driven security!
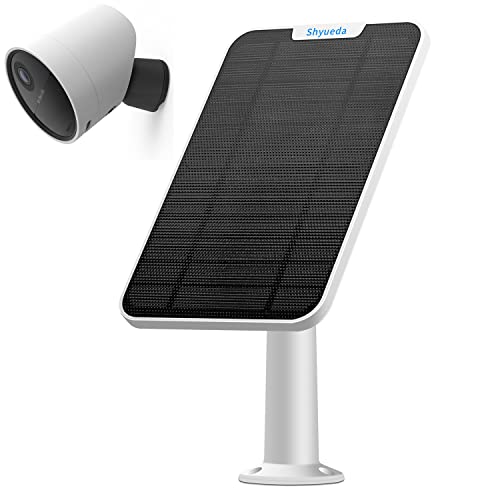
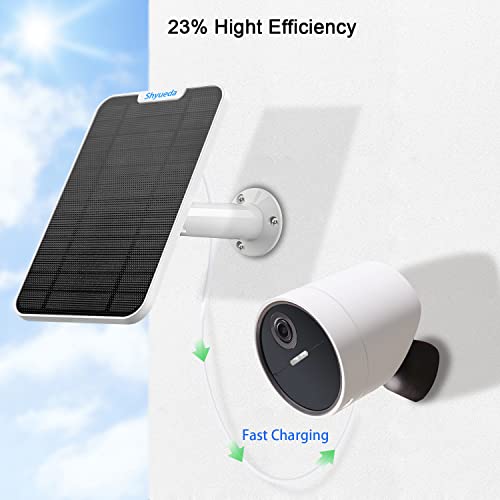
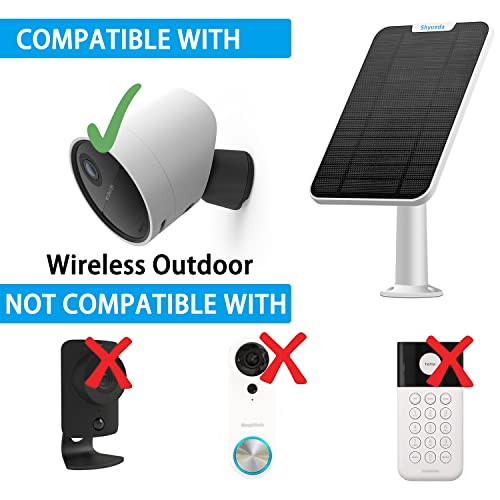
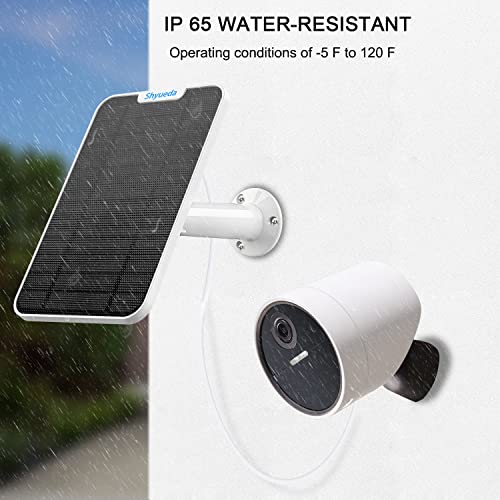
The 4W Solar Panel Charging is a compact, high-efficiency solar charger designed exclusively for SimpliSafe Outdoor Security Cameras. Featuring a durable IP67 waterproof monocrystalline silicon panel, a 360° adjustable secure wall mount, and a 13.1ft waterproof cable, it ensures continuous, eco-friendly power in diverse weather conditions without the need for batteries or adapters.
| ASIN | B09Z2CNQ7R |
| Batteries Required? | No |
| Batteries included? | No |
| Best Sellers Rank | 140,311 in DIY & Tools ( See Top 100 in DIY & Tools ) 418 in Surveillance Housing & Mounting Brackets |
| Colour | White |
| Customer Reviews | 4.5 4.5 out of 5 stars (145) |
| Date First Available | 22 Dec. 2022 |
| Included Components | Secure Wall Mount(White) |
| Item Package Quantity | 1 |
| Item Weight | 490 g |
| Item model number | '4W Solar Panel Charging' |
| Manufacturer | Shyueda |
| Material | Monocrystalline Silicon |
| Maximum power | 4 Watts |
| Package Dimensions | 23.09 x 16.1 x 8.1 cm; 490 g |
| Part Number | 1 |
| Plug profile | Surface Mount |
| Power Source | Battery Powered |
| Size | 1 Pack |
| Style | Compact |
| Wattage | 4 watts |
D**P
I've had this up for over a month and it's working perfectly. Super easy to install. It's difficult only if the spot you choose is hard to reach. The included template makes pilot hole drilling accurate and effective. The included hardware makes installation a breeze. I angled my panel to also shield the camera a little bit. Everything works and my camera app consistently shows a 100% charge. Very happy with this given it costs way less than the one offered by camera company.
C**7
I got this solar panel over a year ago, and it works perfectly. I used to have to remove the camera battery, recharge it, then put it back in. A real pain! Now it just stays charged, haven't touched it since it was installed!
P**R
Okay after reading many reviews on several different panels I decided to try this one. I have a mechanical and engineering background so I will give you some input on the several different panels. There are some panels with built-in battery packs, this one doesn't have one. Why did I choose one without a battery pack? Simply put a year, 2 years or 3 years down the line that built-in battery pack in the solar panel will eventually go bad and not hold a charge. What could be the consequences? The solar panel can't charge the solar panels built in battery pack and may interfere with charging the simplisafe camera's battery. The simplisafe camera's battery will already sustain use of that camera for several weeks if not months, easily. Unless you live in Alaska where you have limited light during certain parts of the year, you don't need a solar panel with a built-in battery pack. This solar panel can recharge the cameras built in battery in as little as a day or two of good sunlight. So there's no need to have a another battery in my opinion. Now assembly went together great. As other have stated to get the angle just right and tightening the knob is a little tricky and it may take you several attempts due to as you do the final tighten down at the very end, it tends to move the angle. But it's not a big deal and it's common with all of these types of ball angle locks. A few attempts and you'll get the right angle. Let's move on to the plug issue. Others have stated it doesn't fit right and they are wrong! Remember this has to be waterproof or water resistant and it's supposed to have a tight seal. There is no extra plastic or nothing. It's all part of the design to keep water out. Line up the plug and as you push it in, move the plug side to side gently while you're pushing it in and it will go in with Just a little effort. Don't try and think more then the engineers and try to re-engineer it by cutting or modifying it! If you have some dielectric grease, it literally looks like clear petroleum jelly You can add just a touch to the plug to make it easier as well as prevent corrosions but I didn't have to do any of that. This panel took my new cameras battery from 75% to 100% in just a few hours. I highly recommend this panel.
G**R
This was easy to setup and works great (even in indirect light.) It keeps the battery topped-up and I am happy with my purchase. If I was to give it one con, it is that the cap that tightens the ball mount has "ears" to make it easier to tighten. If you aren't careful, those can get in the way of the angle you want the solar cell to sit it. I had this issue, but was being lazy, so left it at a bad angle. The solar cell cell is good enough that it still works fine!
R**.
My garage camera is on the north side of our house so it doesn't get any direct sunlight. The battery was at 82% power when I installed the solar panel a few days ago. During the day the status shows the battery is charging, after dark it shows the percentage of charge and it's been gradually increasing. After sundown tonight it was 87%, I'm guessing it will be up to 100% at sundown sometime next week. Hopefully it will be able to sustain a charge during the winter so I don't have to pull the battery and charge it with the USB plug. The installation was pretty straightforward. I used the enclosed template and punch to mark and start the mounting bracket holes. I set the angle and locked it in while on the ground, so I didn't have to mess with it on the ladder. The fascia board was pretty dense wood, so it took a while to tighten the screws then screw the panel onto the mounting bracket. Used a little dielectric grease on the charging cable plug and it inserted cleanly with minimal effort. No need to make the hole any bigger. Put a little drip loop in the charging cable and tidied things up with a zip tie. There's plenty of cable, so next time I'm on a ladder I'll make the loop a little bigger. So far, so good. It will be interesting to see how it does this winter. It doesn't get too cold in N. Virginia, but we do lose several hours of sunlight.
Trustpilot
3 weeks ago
2 weeks ago